
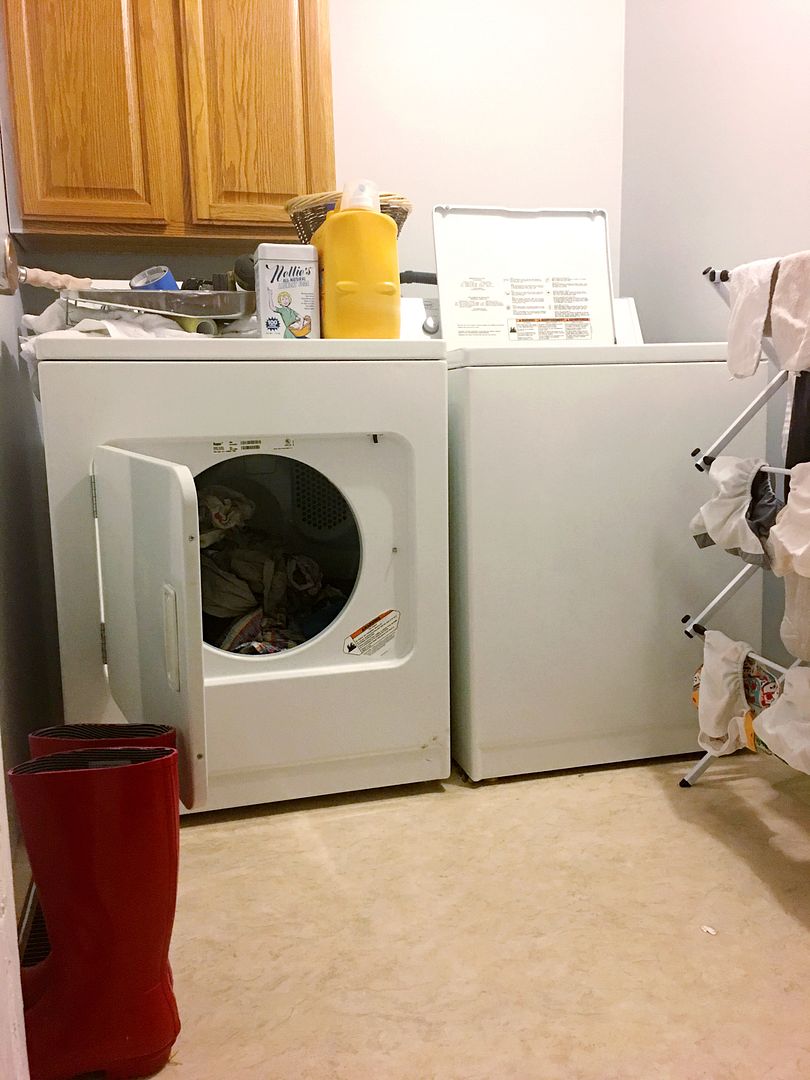
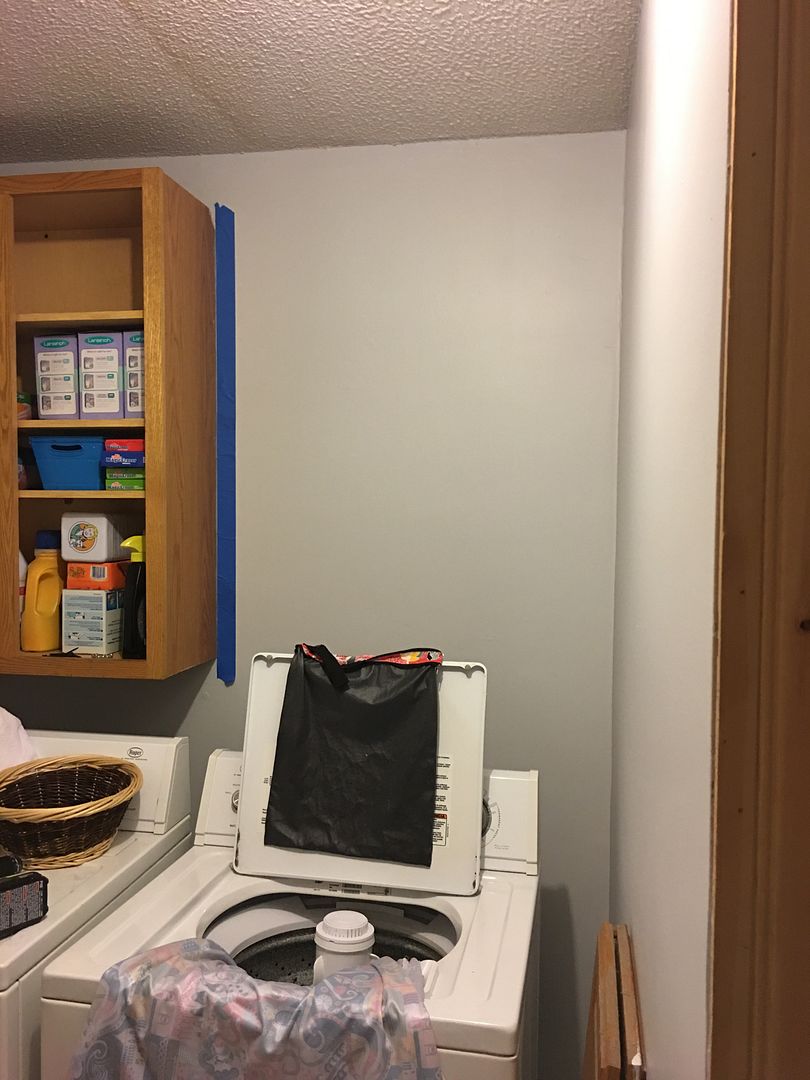
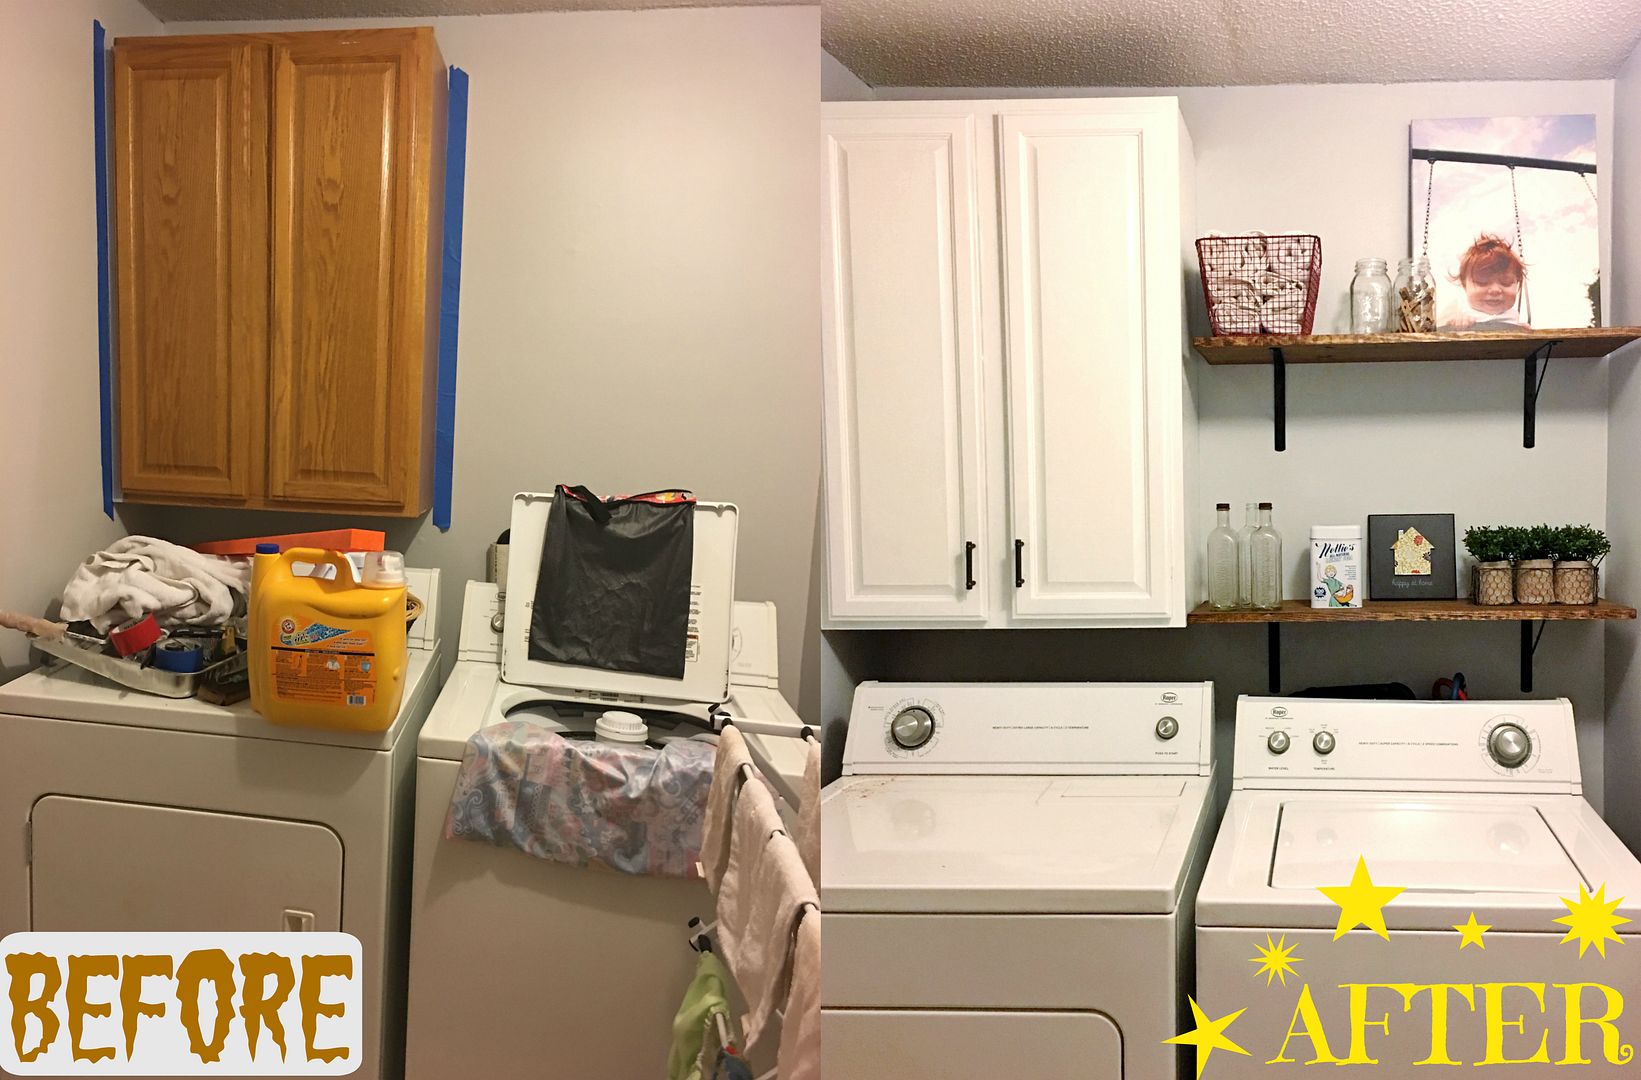
Except the room itself was not that great. It had this funky lone lightbulb hanging out of the ceiling and it was not even centered, the walls were tan (TAN!), it had this one large, honey oak cabinet just hanging out, and then a big ol' empty wall. Honestly, that empty space was really screaming for a window since there is ZERO natural light in that part of the house, but uh, budget. This is supposed to be a mini makeover. Emphasis on mini. And probably the middle of winter is not the time to be cutting gaping holes into the side of the house and figuring out window installation. So we did the next best thing and decided to try and visually balance out the big cabinet with some open shelving.
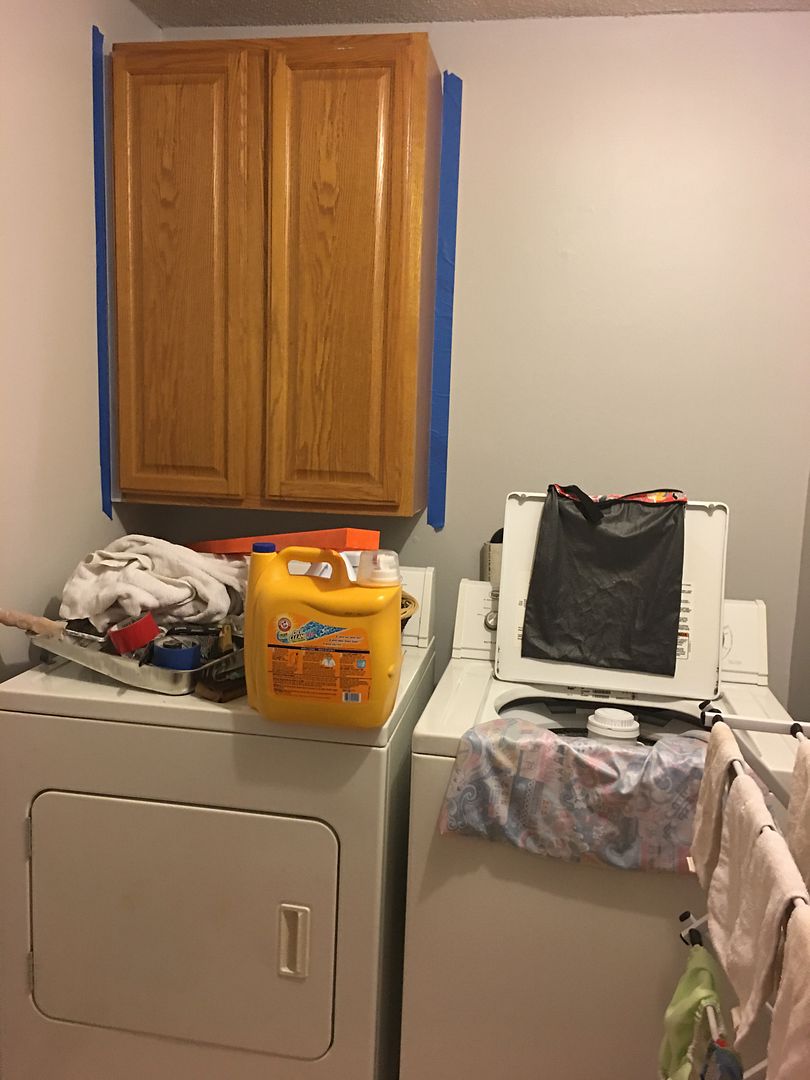
Steve painted the walls for me while he was painting the living room because we had just enough paint and he was in that painting mode, so I let him do his thing.
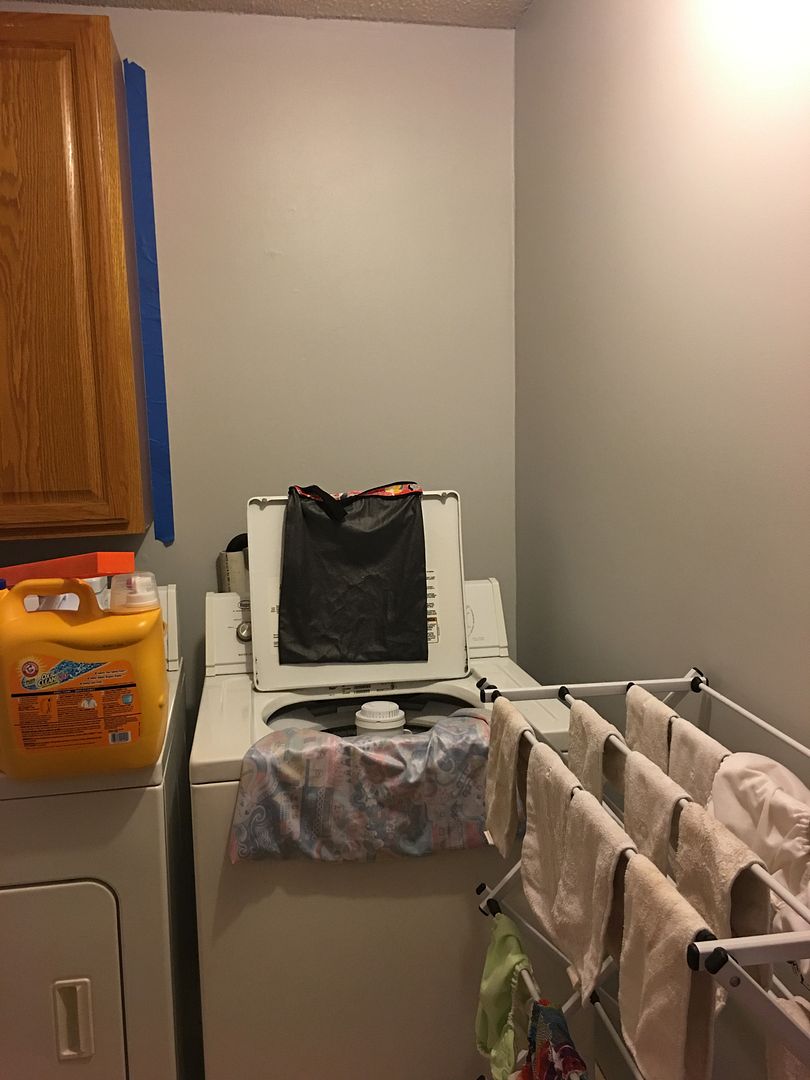
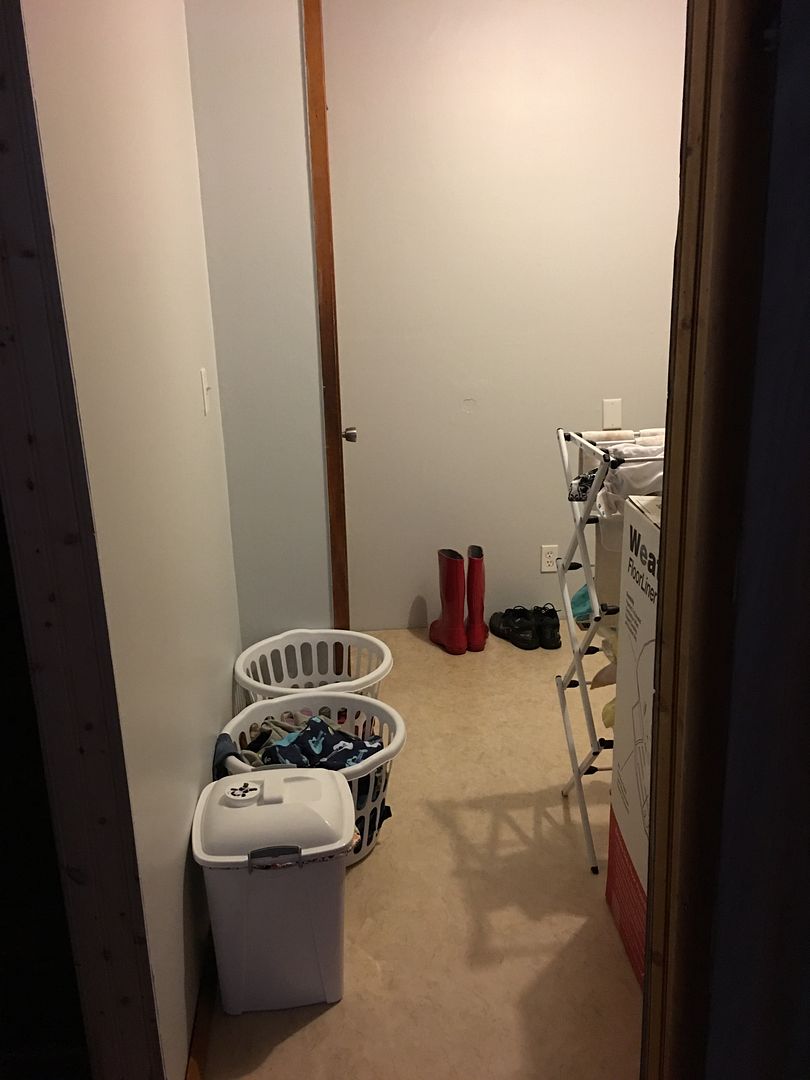
This is walking into the laundry room. No natural light whatsoever. The door leads down to the basement and out to the garage.
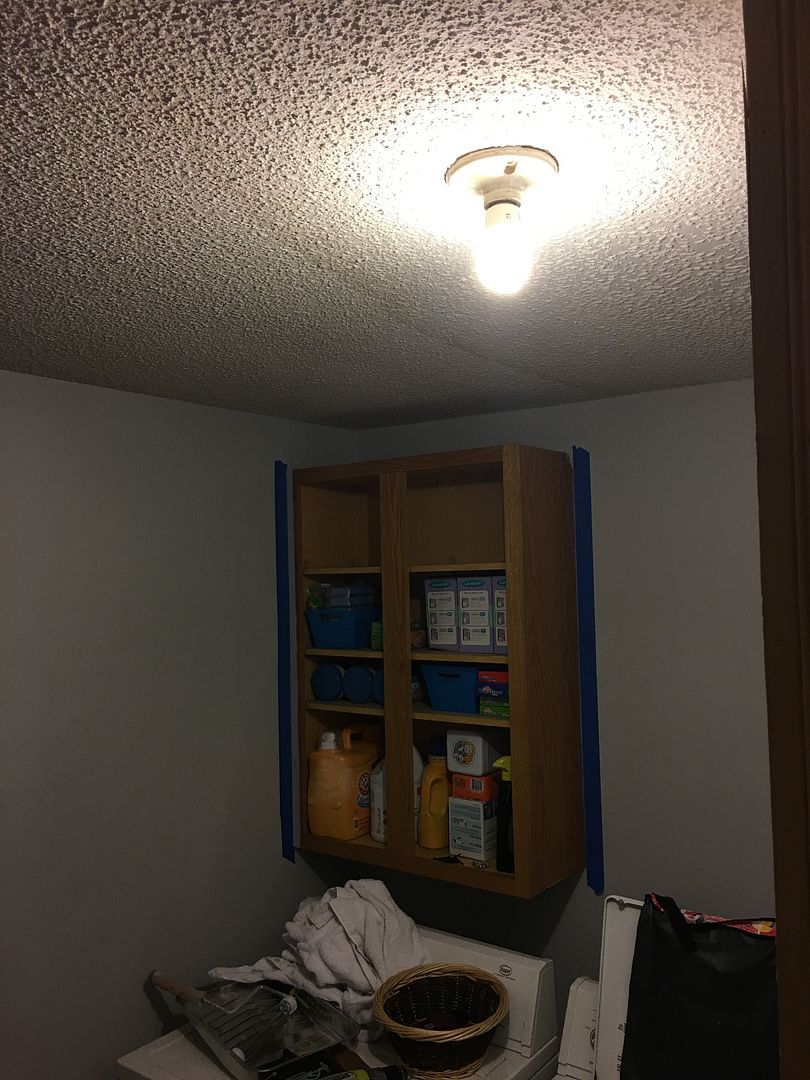
And the lone, off-center lightbulb. Not in the budget to relocate that either!
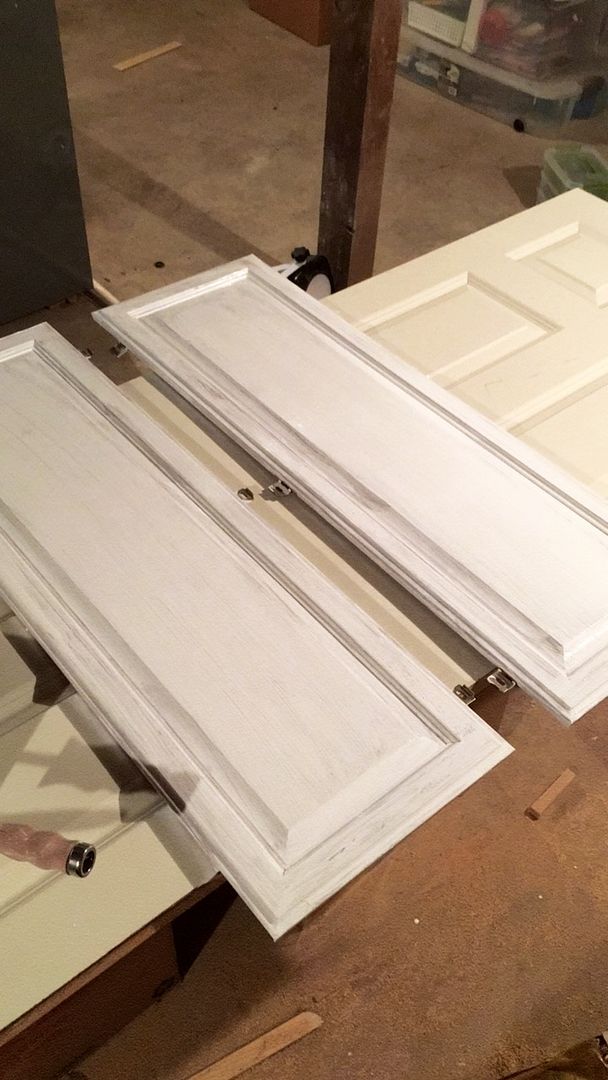
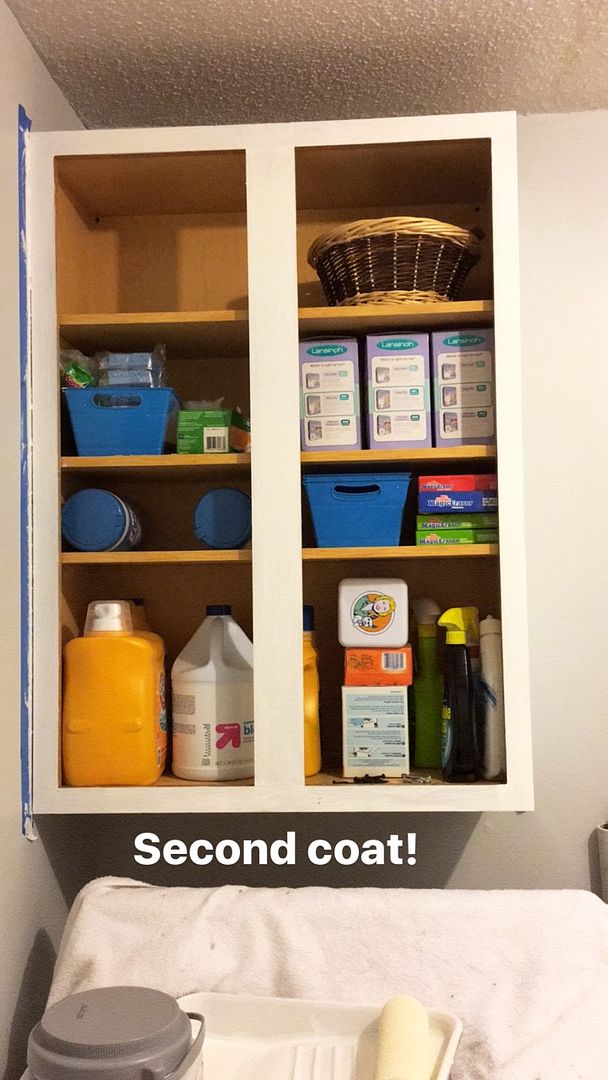
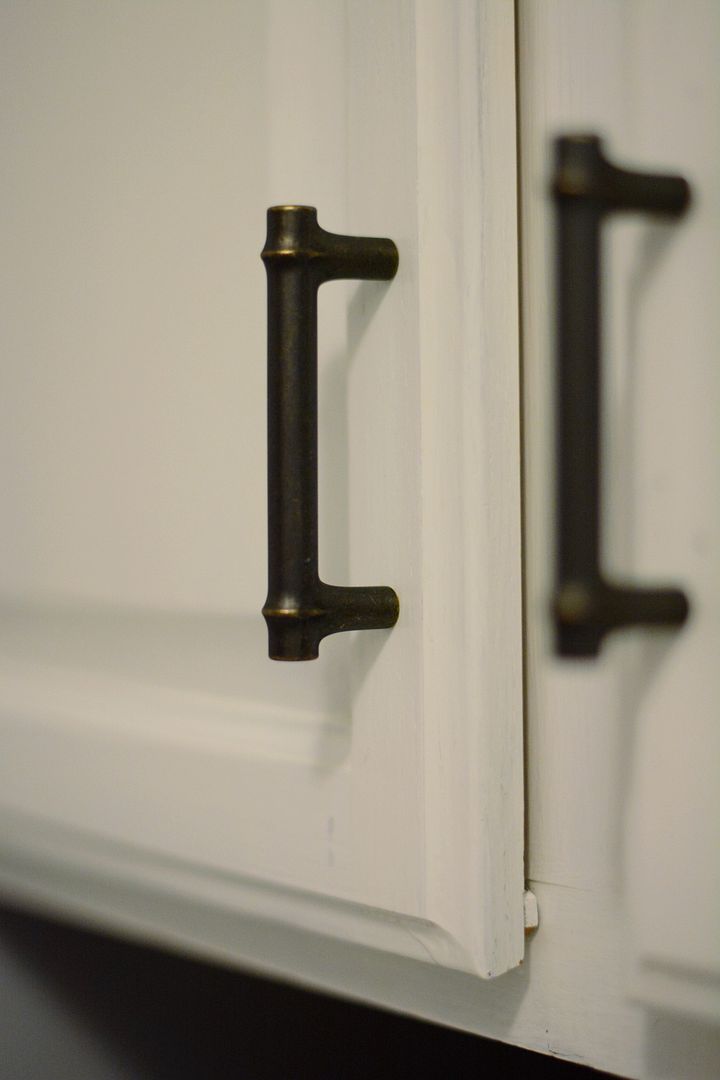
We gave the doors and frame three coats each of the white paint. I didn't think honey oak would put up such a fight, but it proved to be kinda hard to cover.
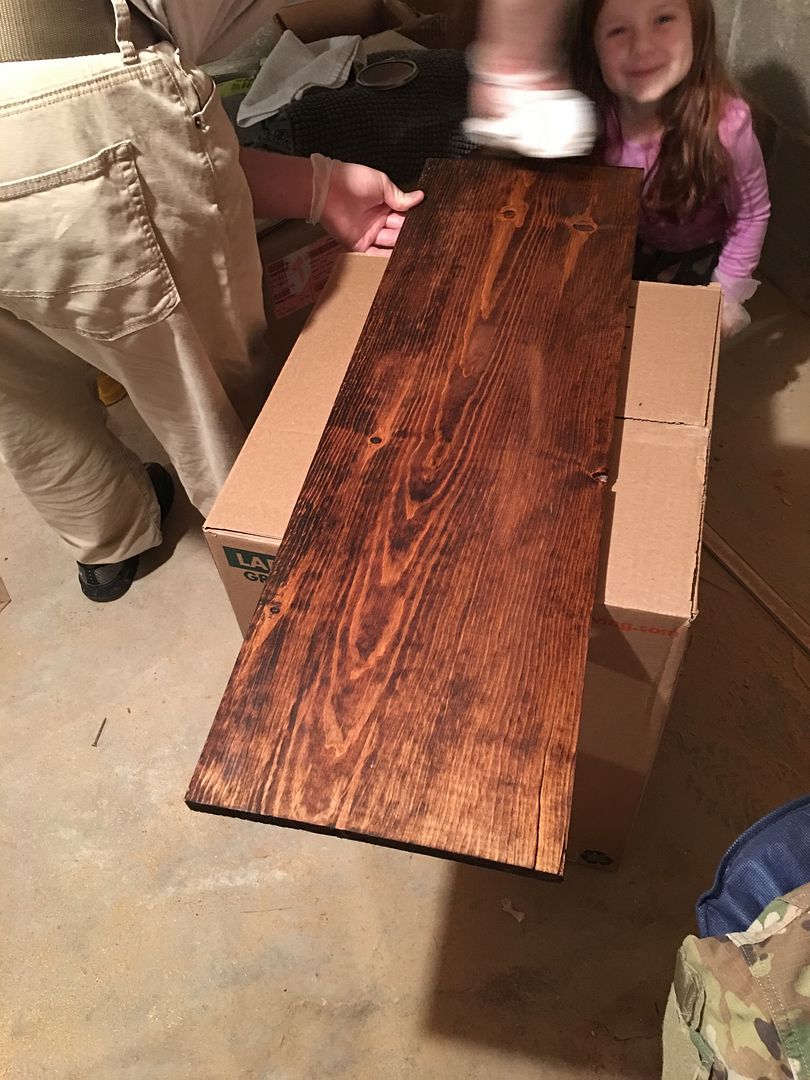
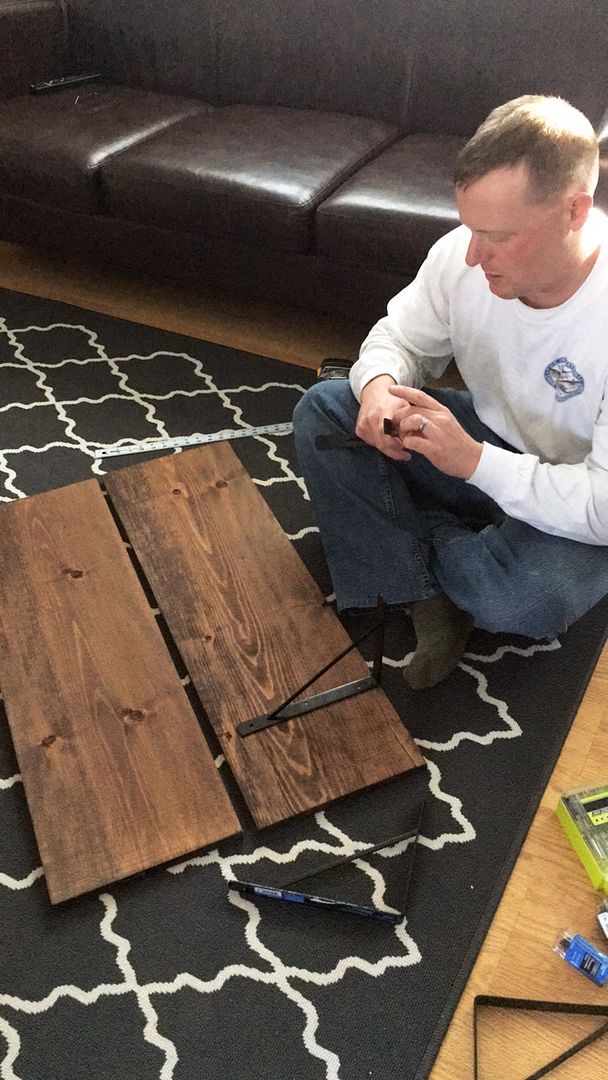
For the open shelving, we had about a three foot space to work with. While browsing Home Depot for wood planks, we found one that was called "common board" and it came in six foot planks. Nothing pretty to look at, probably pine, but once they cut it in half, it was the perfect size! We got a small can of walnut stain and it turned out beautifully!
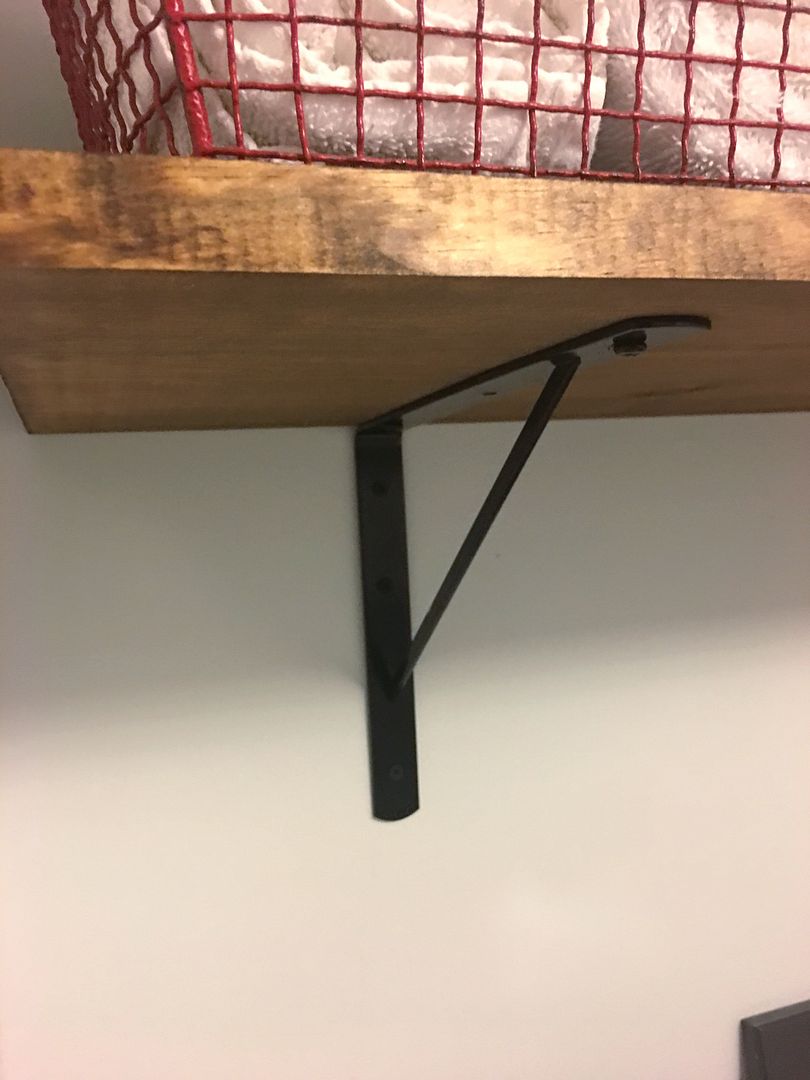
The board was under $10 and the cut was free and the stain was a few bucks... I meant to keep the receipt to tally what this makeover ended up costing in total, but haha. I do remember the brackets being $3 or $4. They are not in the decorative section, definitely used for garage storage, but I like the industrial, clean look of them. Plus they were cheaper and looked sturdier than the decorative brackets.
Screw into the boards, then screw into the wall! Easy peasy.
And now for some after shots...

A more finished light fixture for under $10 - YES. Steve was so proud of himself for fixing it too. Right after he did this electrical work, we had a leak under the sink, and he took care of that as well. What makes men feel more manly than fixing broken stuff? (I really like not having to call (and pay) a repairman when Steve can handle the job himself!)
 |
| This looks uneven, I know, but I was photographing at an angle - you'll have to take my word for it that they're on there straight! |
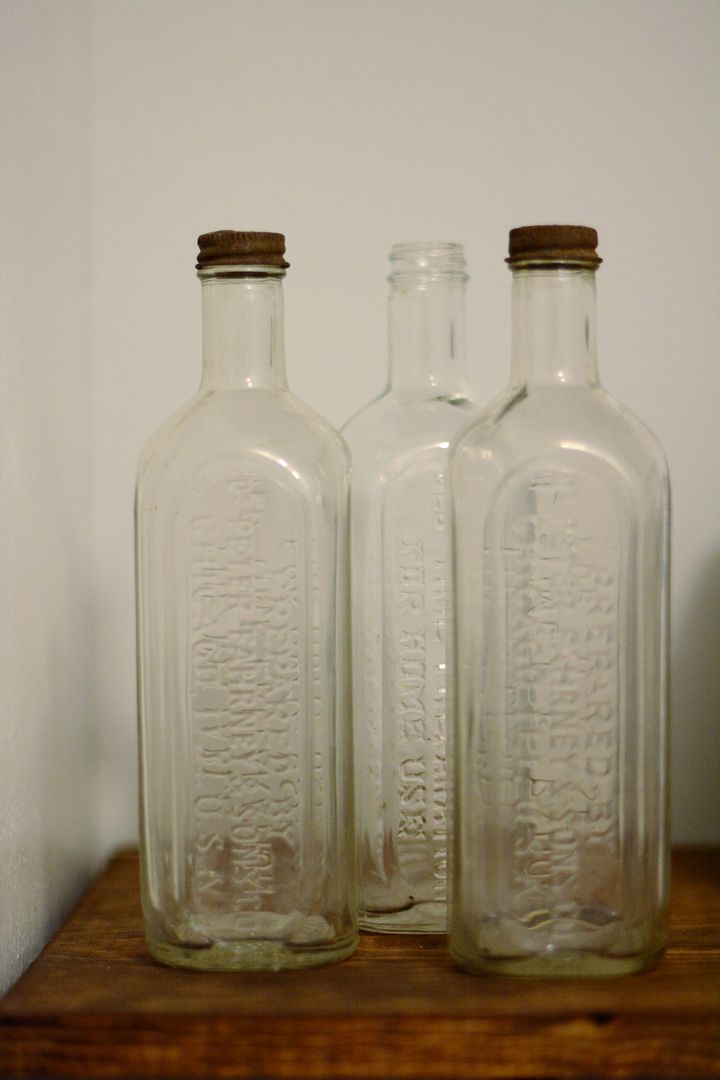
I really tried shopping my house for everything to make this makeover complete, but as I was trying to decorate the shelves, I realized I do not own knick knack stuff! Half of that made me proud because I feel like we strive to live minimally (and knick knacks do not fit into that sort of lifestyle), but the other half of me was frustrated because WHAT TO PUT HERE. Luckily, I stumbled upon a few new (to me) thrift stores and $3 later I had these vintage bottles that go perfectly.
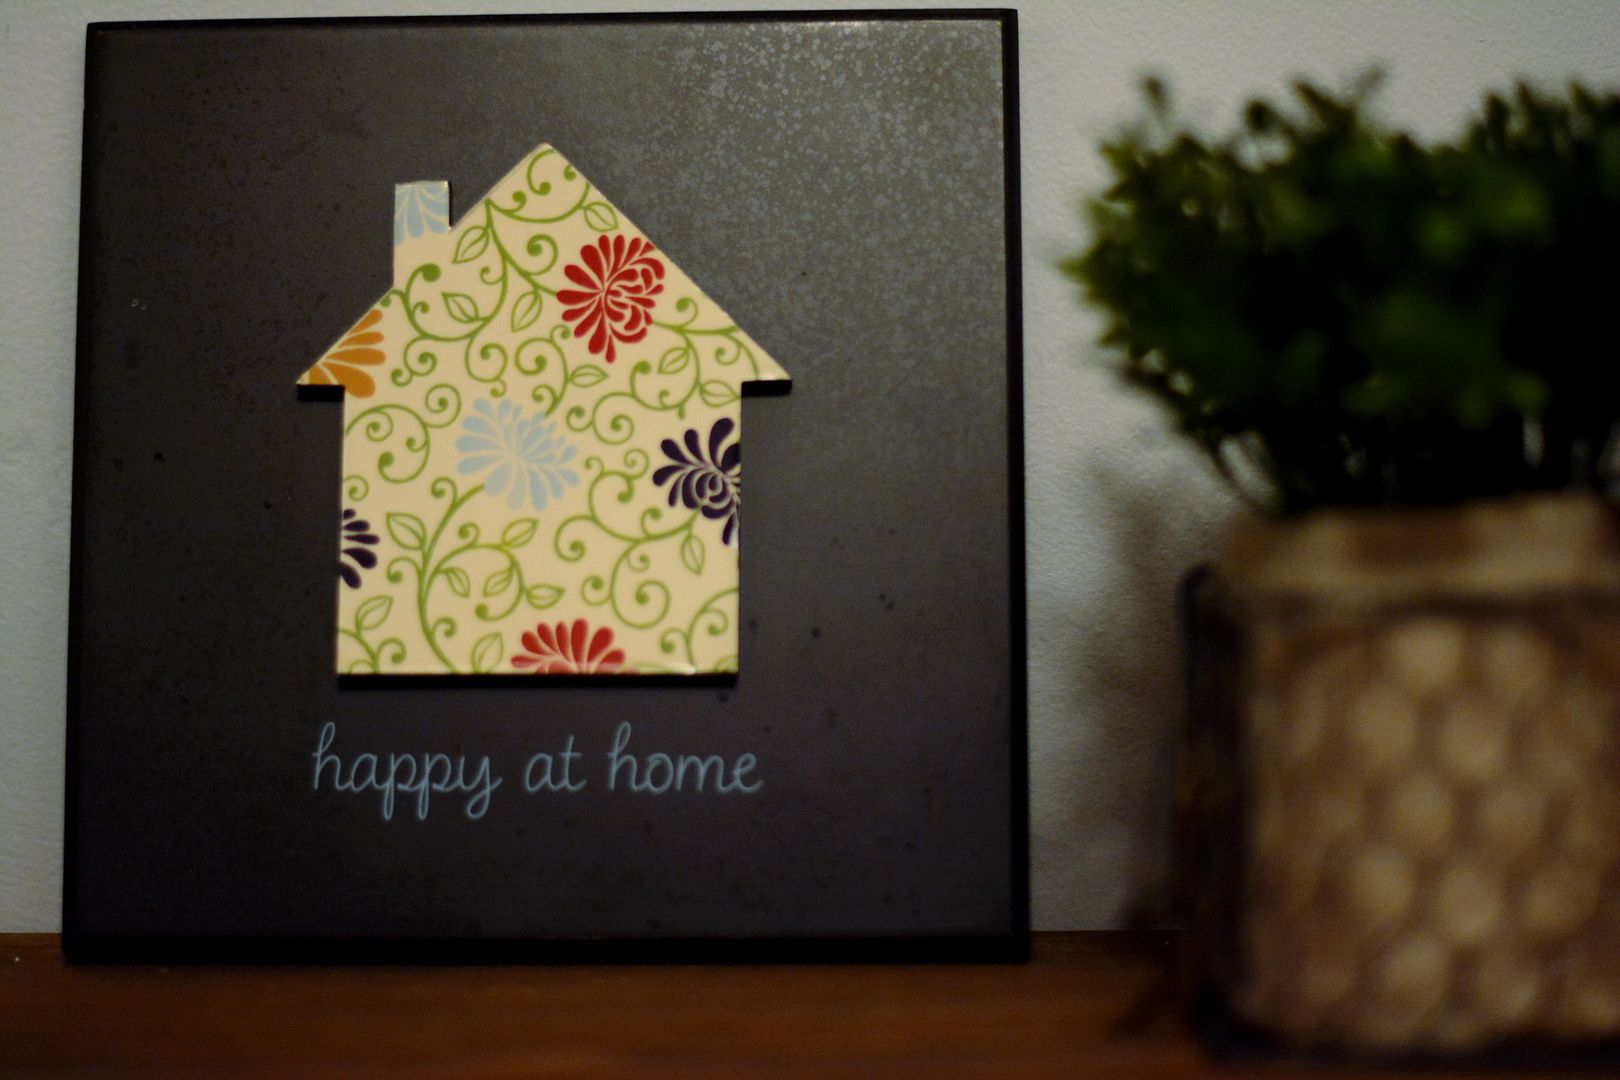
Happy at home almost got purged in NY but I think I've had it since Ft Campbell days so I held onto it for one more move. It goes nicely here but I think it might live here permanently. Aka I don't see it making the next move with us. (Sorry sign, I love you.) The little greenery arrangement was half off at Hobby Lobby. Yes please! I see that working in a future home somewhere.
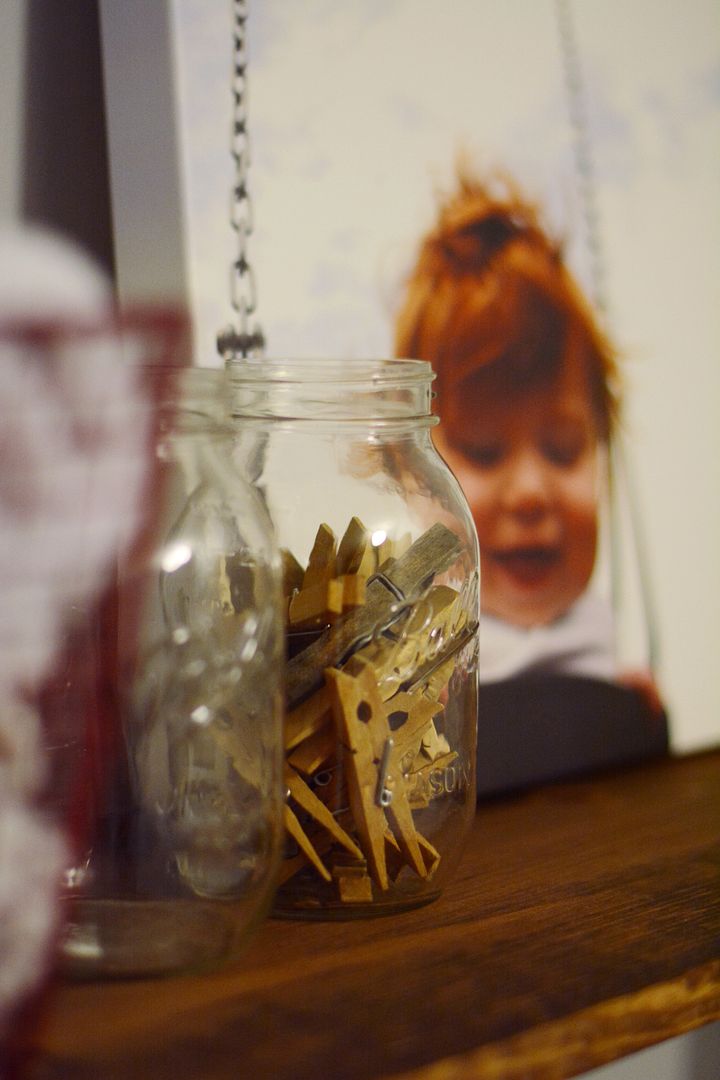
I love these big canvas pictures and this oldie (but goodie) of Molly swinging looked nice and springy and airy - perfect for a dark washroom in the middle of winter, right? Mason jars were found in the basement, along with the clothespins. I had the red metal basket in a closet, and just dumped the contents and filled it up with white towels from the bathroom. (For some reason I have 87 white towels - anyone else?)
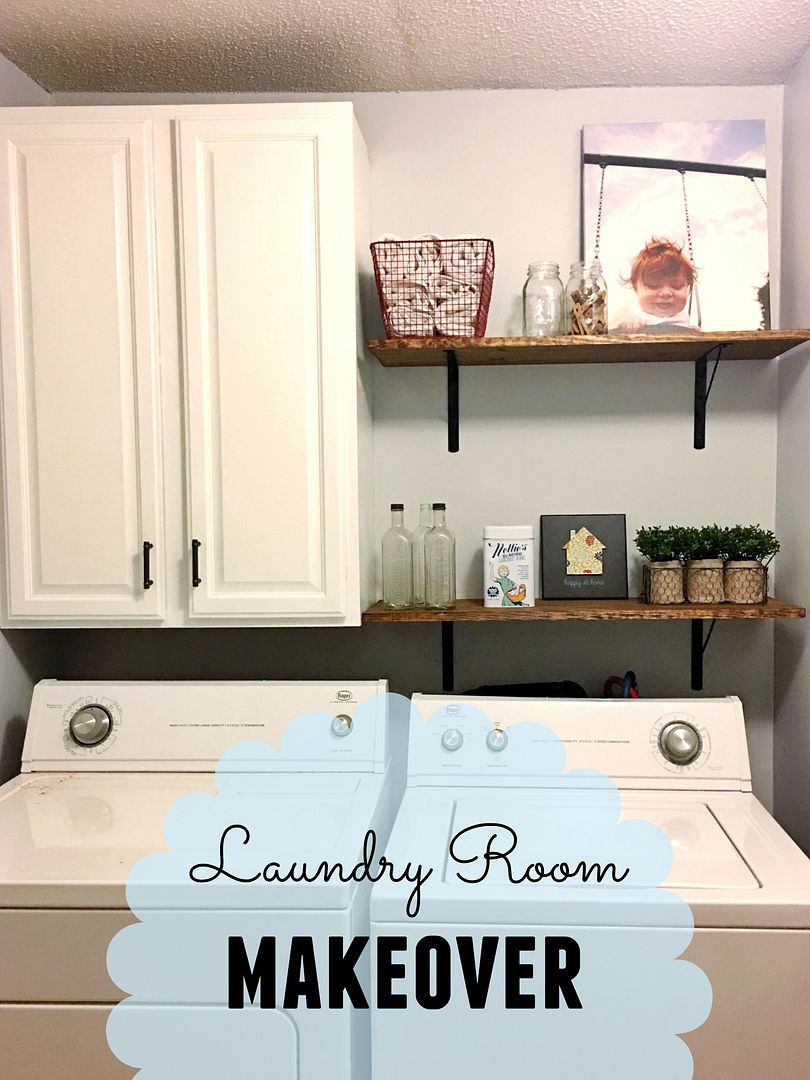
So there you have it! Whaddaya think? After approximating costs (I need to keep better track of receipts!), this makeover came out to a little under $100. Not bad, in my humble opinion. I really enjoy walking in here (many times a day) to swap out laundry.
You might also notice the ol' blog got a mini makeover of its own! Still working on updating everything (like maybe adding Molly and Will to the About page?) but for now, it's working! Wahoo!


Yes! I love it. We are totally painting our ugly honey oak cabinets, putting in some open shelves with knick-knacks (of which I don't own either) and I'm thinking of painting the walls purple. Because why not? ;)
ReplyDeleteI love it so much! So fresh and bright! I mentioned to Matt recently about how many little white towels we have and where the heck did they come from because I never bought them? And he said he swipes them from hotels!!!! I was horrified lol. Did you have to really sand the cabinet before painting? We are debating painting our kitchen cabinets.
ReplyDeleteI love how it turned out!!! It's definitely brighter.
ReplyDeleteThat's definitely an improvement!
ReplyDelete